🚀 Run a SPACE Instance
This guide will walk you through the steps to set up and run your own instance of SPACE. You can choose to run it using Docker for a quick setup or set it up for development purposes.
You can find the SPACE repository on GitHub: SPACE GitHub Repository
- 🐳 Docker
- 💻 Development
- ☸️ Kubernetes
0. Prerequisites
- Docker and Docker Compose installed.
1. Clone the repository & run the application
git clone https://github.com/Alex-GF/space.git
cd space
docker-compose up -d
This will launch MongoDB, Redis, the backend API, the frontend client, and Nginx as a reverse proxy.
2. Log into SPACE
Then point your browser to http://localhost:5403, you should see this page:

Then log using:
- Username:
admin - Password:
space4all
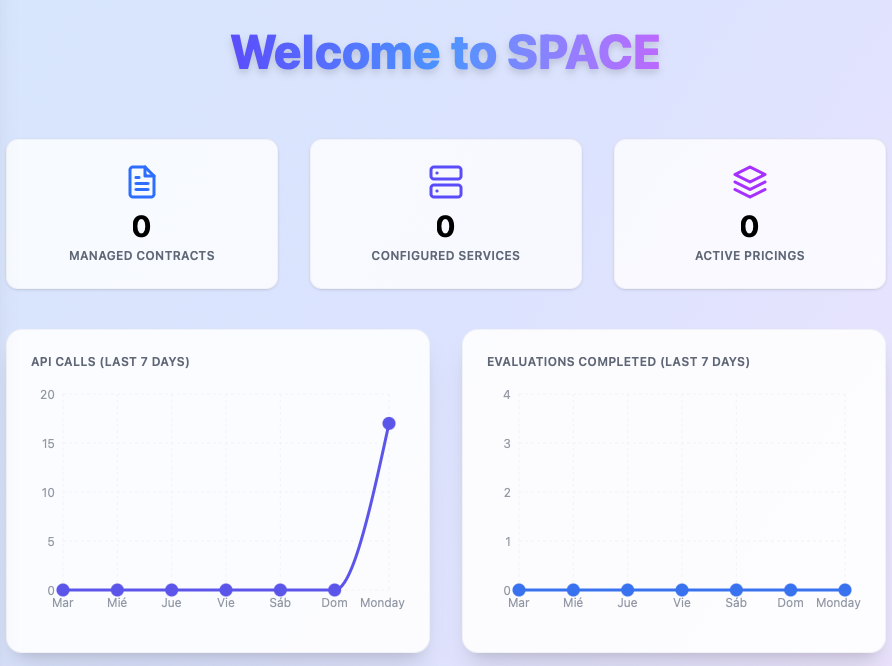
and you will be redirected to this page:
Instance Configuration
In many cases, you may want to configure your SPACE instance to meet your specific needs while protecting your business secrets.
To do so, you can modify the environments of both the server and client services within the docker-compose.yml file that is located in the root directory of the repository.
The full documentation for each environment can be located in the configuration section.
For real-world applications integrating SPACE, it's very important to change both the JWT_SECRET and JWT_SALT environment variables of the serverservice. This is because all pricing tokens generated by SPACE are signed using these values, and if they are not changed, anyone with access to the source code can generate valid tokens for any user, which could lead to unauthorized access to your services.
0. Prerequisites
1. Clone the repository
git clone https://github.com/Alex-GF/space.git
cd space
2. Install dependencies
npm i
We recommend using pnpm for package management, as it is faster and more efficient than npm or yarn. If you don't have pnpm installed, you can install it globally:
npm install -g pnpm
Then run:
pnpm install
This will install all dependencies for both the backend and frontend.
3. Configure environment
For development purposes, SPACE can be configured using a .env file in both the api/ and frontend/ directories. Inside each one you'll find a .env.example file that you can use to configure your .env as desired. You find more details in the configuration section.
If you don't care about the .env file configuration. You can also run:
pnpm run dev:setup:test
This will create both .env files in the api/ and frontend/ directories with default values for development.
4. Start the development instance
To run SPACE in development mode, you can just run:
pnpm run dev
to start both the backend and frontend servers concurrently.
If you have used the default configuration, i.e. you executed pnpm run dev:setup:test, you can then access the frontend of SPACE at http://localhost:5173, and can log in as an admin user using these credentials:
- Username:
testAdmin - Password:
test4dm1n
The SPACE server will run on port 3000 with this default configuration.
0. Prerequisites
- To have access to a kubernetes cluster wherein SPACE will be deployed
- MODIFY the docker-compose.yml file located in the root directory of the repository. You must change the arg
VITE_SPACE_BASE_URL(used to build thespace-clientservice) fromhttp://localhost:5403/api/v1tohttp://localhost/api/v1
1. Run SPACE using kubernetes
Considering that you already have a cluster (we recommend using kubeadm from docker-desktop for testing purposes), you just need to navigate to the k8s folder within the SPACE repository. Considering that you are in the directory where the repository has been decompressed:
cd space/k8s
Then, you just need to run the deploy.sh script to deploy SPACE in your kubernetes cluster:
chmod +x deploy.sh
./deploy.sh
Then wait for the SPACE pods to start. If everything is set up correctly, you must have 3 replicas of the server pod running, and should be able to access SPACE at http://localhost.
If you want to explore SPACE, you can log in into the app using the following default credentials (this will be needed for retrieving API keys):
- Username: admin
- Password: space4all
If you are interested in learning more about SPACE, you can check out the SPACE documentation for more details on how to set it up, configure it, and use its features.